3 Common Mistakes in Custom Earflap Hat Production

Intro

Earflap hats are tricky for a reason: earflaps that are too long look sloppy, a body that is too thick looks bulky, and even a slight mismatch between the left and right flaps lowers the polish of the whole hat. Here are 3 details worth watching.
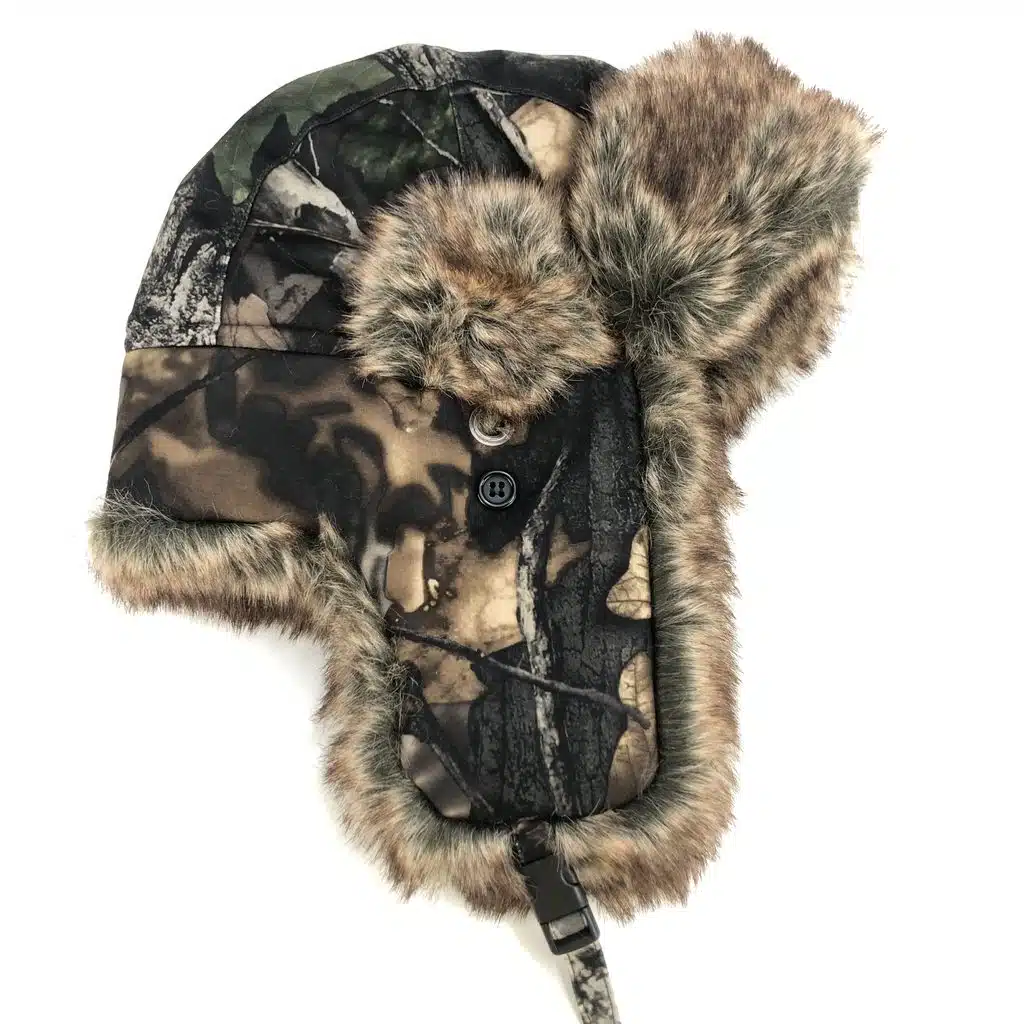
Flap Length and Attachment Point Decide How the Hat Looks on the Head

Many developers fix the hat body first and adjust the flap length afterward. But longer flaps are not automatically warmer, and wider flaps are not automatically better designed. Length, width, attachment point, and hanging angle all affect the hat’s proportions.
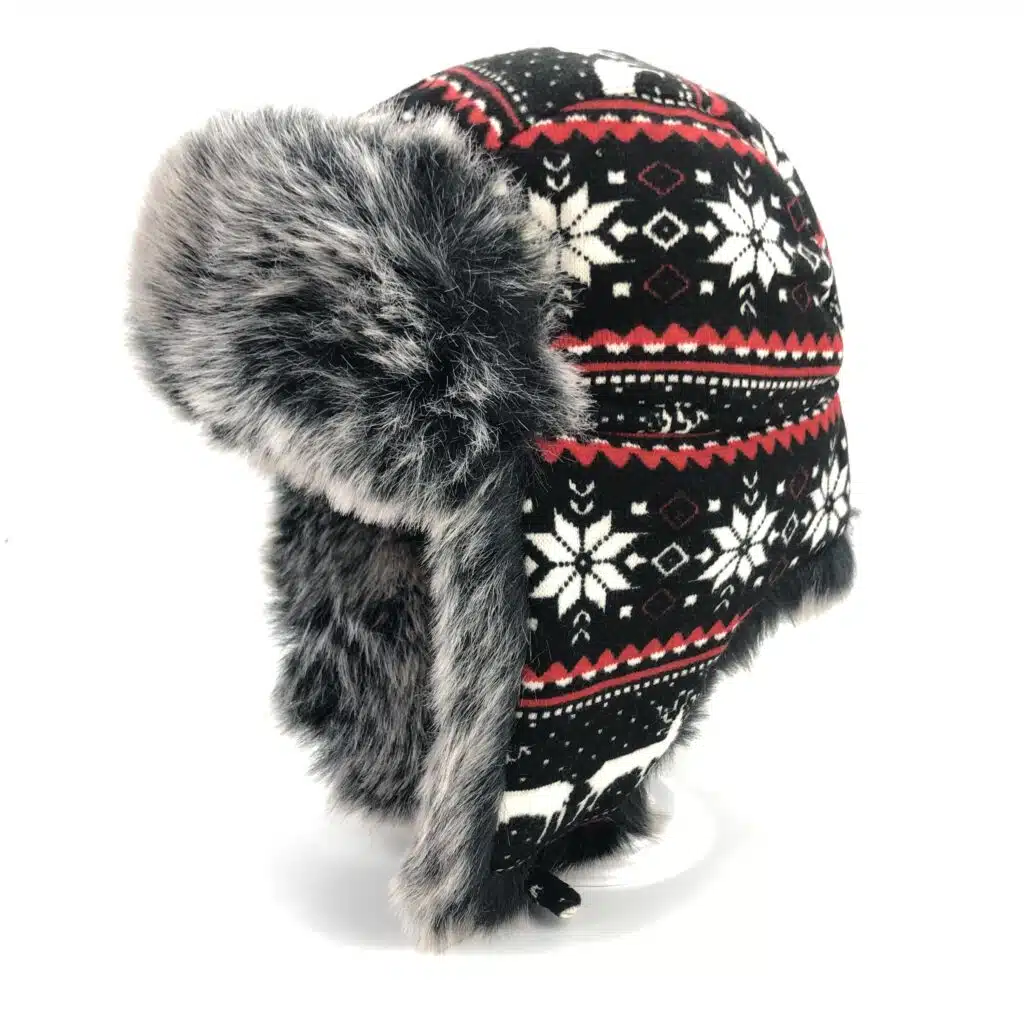
During development, keep in mind:

  • Judge flap length together with crown depth and wearing position, not as a standalone measurement.
  • Check the cut pieces, stitching position, and drape of both flaps, not just whether they look symmetrical when laid flat.
  • If the design calls for flaps that flare outward, hang naturally, or sit close to the face, define these effects at the sample stage.

Recommendation: besides confirming flat measurements, always add an on-head fitting.

The Right Fabric Doesn’t Guarantee the Right Pattern

This is easy to overlook. Knit, plush, and woven fabrics each behave differently. Using the same pattern across them can pull the final result away from the original design.

  • Knit: it stretches when worn and may shrink back off the head. Watch stitch density, elasticity, recovery, and whether the flaps deform under strain.
  • Plush: pile thickness and volume affect the visual outline and seam handling. Watch fabric thickness, pile direction, crown volume, and whether stacked seams look bulky.
  • Woven: it usually holds its shape better, though stiffness still depends on the fabric and inner structure. Watch crown structure, lining fit, and flap support to avoid local wrinkles or an uneven outline.

A Symmetrical Sample Doesn’t Guarantee Stable Bulk Production

Small differences between the left and right flaps are easy to miss at the sample stage. Slight deviations in flap length, attachment height, or stitching angle can be magnified once the hat is on the head.

For plush styles, check that the pile direction is consistent across cut pieces and that the pile isn’t trapped in the seams. For lined woven styles, check that the outer layer and lining sit flat together and that the corners are smooth.

Define the key requirements early:

  • Use the approved sample as the reference for flap size and attachment position.
  • Specify cutting direction, stitching requirements, and how key areas will be inspected.
  • After sample approval, still verify cut pieces, stitching, and finished appearance in bulk production. A single sample photo can’t confirm consistency.

This matters most for complex structures and bulky fabrics. A great sample only proves the approach is feasible. Whether it can be reproduced reliably depends on clear production control standards.

Avatar photo
Ray

🌟 Passionate Marketing Manager

Navigating the vibrant world of fashion marketing with a steady hand and a keen eye for trends.

With years of experience, I blend creativity and strategy to elevate brands and captivate audiences.

Articles: 25

Contact Us

We will reply to you within 24 hours.