For the six common sweater problems mentioned below, solutions are provided below from both the consumer’s (daily handling) and the manufacturer/quality control’s (prevention and control) perspectives, for practical application.
1. Pilling – Those Tiny Fuzzy Balls That Ruin the Look
What it looks like: Small, tangled fibre balls clustered on high-friction areas – cuffs, underarms, side seams, and anywhere the fabric rubs against itself or outerwear. Pilling is especially visible on dark colours.
Production & Quality Control
Yarn selection: Choose yarns with an anti-pilling rating of ≥3 (per Chinese national standards). Excellent options include mercerized wool and anti-pilling acrylic.
Finishing treatments: Apply anti-pilling processes like bio-enzyme polishing during post-production.
Testing: Conduct Martindale or pilling-box tests on finished samples before bulk shipment.
Consumer Solutions
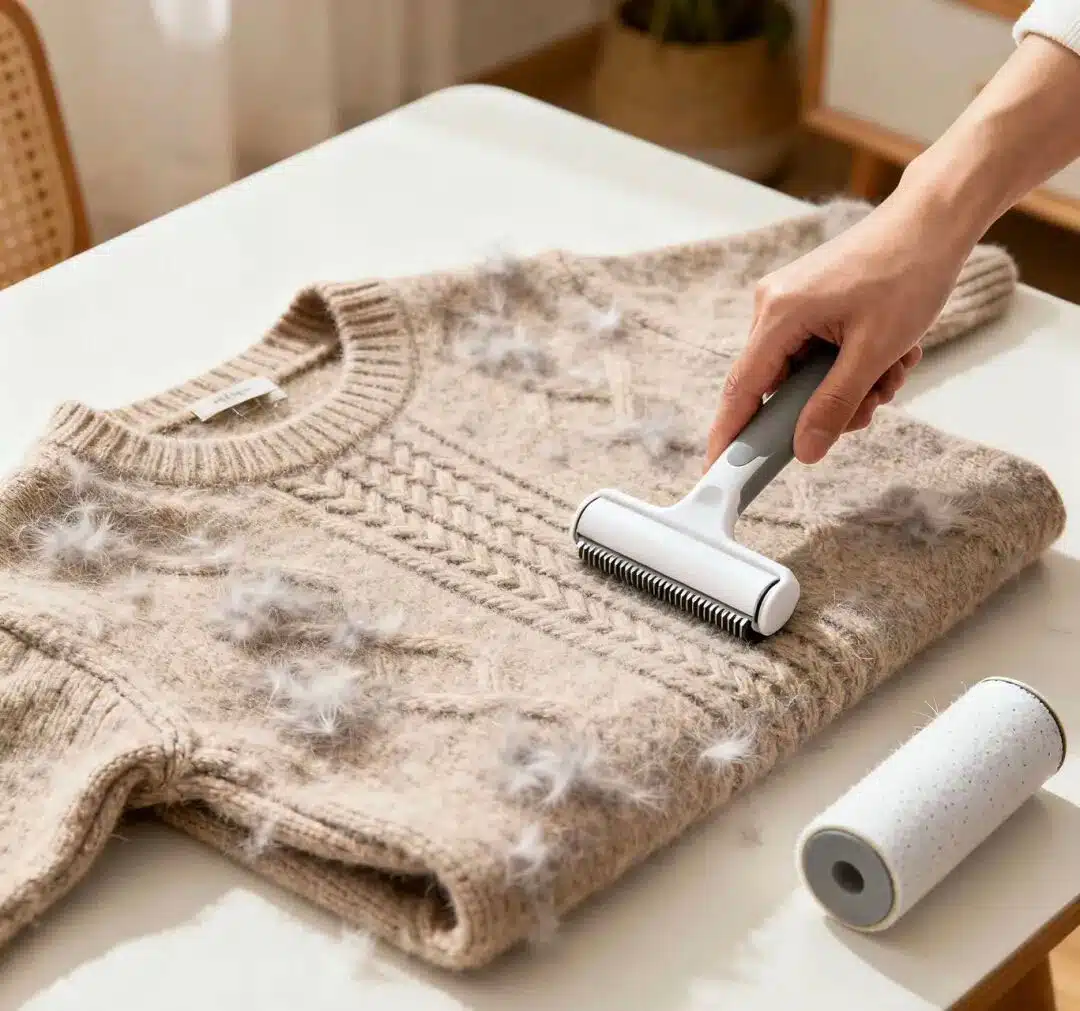
Remove pills gently: Use an electric fabric shaver – glide it lightly over the surface.
Wash with care: Turn the sweater inside out, place it in a mesh laundry bag, and avoid rubbing against rough jackets or bags.
Prevent future pilling: Opt for blended or high-count worsted wools, and hand-wash whenever possible.
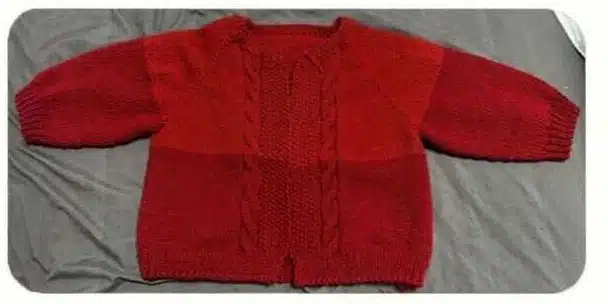
2. Colour Difference (Shade Variation) – When Parts Don’t Match
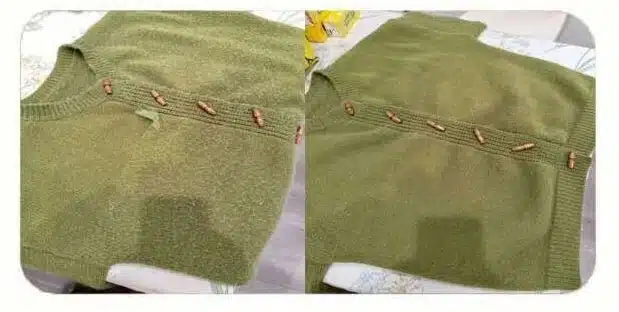
What it looks like: The front body, sleeves, and collar show noticeable shade differences – either under standard light or in natural daylight. This often stems from dye-lot inconsistencies.
Production & Quality Control
Tight dye-lot control: Use yarn from the same dye batch for one production run; keep a “batch sample” for colour matching.
Colour-checking step: Perform a “shade matching” process after knitting but before seaming – verify that front/back panels, sleeves, and collars are identical.
Standard lighting: Always evaluate colours under D65 or other standard illuminants to avoid optical illusions from different light sources.
Consumer Solutions
Minor differences: Try a colour-restoring agent or dye-reviver product made for wool/synthetics (test on a hidden spot first).
Buying tip: Always check collar-to-body and sleeve-to-body colour in natural sunlight before purchase.
Irreversible cases: Severe mismatches (e.g., left vs. right front panel obviously different) cannot be fixed at home – return or exchange immediately.
3. Stiff, Harsh Hand Feel – Like Cardboard Instead of Cashmere
What it looks like: The fabric feels rigid, has poor drape, shows little rebound after squeezing, and may become even harder after washing – sometimes felted or matted.
Production & Quality Control
Premium raw materials: Use fibres with fine micron and long staple length – they naturally feel softer.
Softening auxiliaries: Apply non-ionic softeners and smoothing agents during finishing.
Controlled milling: Avoid over-felting by strictly timing the milling process.
Soak in conditioner: Use a wool-specific fabric softener or silicone-free hair conditioner – dilute in cool water and soak for 15–20 minutes.
Restore fluffiness: When half-dry, gently stretch and massage the knit to loosen fibres.
No heat: Never use hot water, tumble dryers, or direct sunlight – heat bonds wool scales permanently.
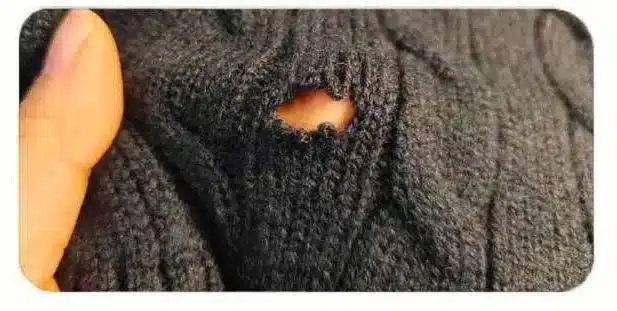
4. Holes & Dropped Stitches – Unwanted Openings in the Knit
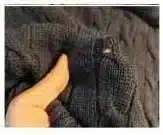
What it looks like: Obvious holes (often at seams or centre front) or vertical ladder-like gaps where one or more stitches have slipped, creating runs in the fabric.
Production & Quality Control
In-process inspection: Use fabric-inspection machines and light-box pin detectors during knitting to catch dropped stitches early.
Post-seaming check: Inspect every garment, especially stress points like armholes and necklines.
Tensile strength tests: Ensure yarn breaking strength meets standards to withstand normal wear.
Consumer Solutions
Small holes: Repair with matching yarn using a “darning” technique – follow the original loop direction.
Dropped stitches: Use a crochet hook to pick up the dropped loop from the wrong side, working it back up to the right side, then secure it.
Valuable sweaters: Send to a professional tailor or re-weaving specialist – they have the tools and experience for invisible mending.
5. Size Deviation – When the Sweater Doesn’t Fit the Label
What it looks like: Measured length, chest, shoulder width, or sleeve length differs significantly from the size tag or size chart – either too large or too small.
Production & Quality Control
Standard templates: Recheck the tech pack before each batch; use calibrated ironing/steaming boards to set dimensions uniformly.
Measure every piece: Record key measurements (length, chest, shoulder, sleeve) for each finished garment.
Shrinkage pre-test: Calculate shrinkage rates for washing and finishing, then adjust knitting density and dimensions accordingly before production.
Consumer Solutions
If too large: For wool/cashmere, soak in warm water (around 40°C) for controlled shrinking – but proceed with caution and test a small area.
If too small: Use a fabric stretching agent or hair conditioner soak, then gently stretch the sweater while damp to the desired size.
Shopping advice: Always rely on flat-lay measurements provided by the seller, not just S/M/L labels. If the deviation is unacceptable, return or exchange promptly.
6. Twisting / Skewing – When Seams Go Diagonal
What it looks like: When laid flat, the centre front seam, side seams, or collar are visibly crooked; the hem forms an irregular curve rather than a straight line.
Production & Quality Control
Yarn twist balance: Control the twist factor of the yarn – unbalanced single yarns cause torque that distorts the fabric.
Accurate seaming: Align patterns precisely when joining front/back and sleeves – ensure grain lines match.
Even tension in setting: Use setting machines with uniform tension distribution during steam finishing to lock in the correct shape.
Twist testing: Perform a skewness test on finished garments to confirm they meet tolerance standards.
Consumer Solutions
Mild twisting: Use a steam iron on the wrong side, gently pulling the fabric in the opposite direction while steaming – let it cool flat.
Severe skewing: This is a structural defect; home correction is nearly impossible.
Buying tip: Unpack and lay the sweater flat immediately upon receipt – check the centre front and side seams for vertical alignment. If obviously twisted, request a replacement or refund without hesitation.
Final Checklist for Sweater Quality Assurance
Problem
Prevention (Factory)
Action (Consumer)
Pilling
Anti-pilling yarn, tight knit, enzyme finish
Shaver, wash inside-out, hand-wash
Colour difference
Same dye batch, standard lighting, pre-seam checking
Natural-light check, dye restorer (minor)
Stiffness
Softener, fine fibres, controlled milling
Conditioner soak, gentle stretch, no heat
Holes / dropped stitches
Inspection machines, tensile tests
Darning, crochet hook, professional mending
Size deviation
Pre-shrink tests, standard templates, measure each piece
Warm soak (too big), stretch when damp (too small)
Twisting / skewing
Balanced twist, aligned seaming, even setting tension
Steam & pull (mild), return (severe)
Why This Matters for Your Brand
For clothing businesses, every returned sweater costs not just shipping and handling – but also customer loyalty. By implementing robust QC protocols (yarn selection, density control, finishing, and 100% measurement checks), you reduce defect rates dramatically.
For shoppers, knowing these fixes empowers you to extend the life of your favourite knits and avoid unnecessary waste. A little care goes a long way – and sometimes, a simple home remedy saves a beloved sweater from the donation pile.
Share this guide with your team, suppliers, or fellow knitwear lovers. Got a specific sweater problem not covered here? Drop a line – we’ll help you unravel it.
Ray
🌟 Passionate Marketing Manager
Navigating the vibrant world of fashion marketing with a steady hand and a keen eye for trends.
With years of experience, I blend creativity and strategy to elevate brands and captivate audiences.